When it's time to prep a concrete floor, two methods come up again and again:…

Substrate Technology
CONSTRUCTION EQUIPMENT & SUPPLIES
1384 Bungalow Rd.
Morris, Illinois, U.S.A.
A failed floor coating is one of the most expensive problems in this business. The material was fine. The crew knew what they were doing. But six months later the floor is peeling, blistering, or lifting in sheets — and someone has to eat the cost of doing it over.
Here’s the hard truth: coating failures are almost never the coating’s fault. They’re a prep problem. Here are the four causes we see most, and how to avoid each one.
1. Moisture in the Slab
This is the number one killer. Concrete holds moisture, and that moisture wants out. When you seal a slab with a non-breathable coating, vapor pressure builds underneath until it pushes the coating right off — showing up as bubbles, blisters, or wholesale delamination.
The frustrating part is that a slab can look bone dry and still be well over the limit.
How to prevent it: test before you coat. Not “it looks dry” — actually measure it. Moisture meters give you a real number for moisture content, relative humidity, and dew point, and most coating data sheets tell you exactly what readings they’ll tolerate. If you’re over, you either wait, use a moisture-mitigating primer, or choose a moisture-tolerant system. What you don’t do is coat and hope.
2. The Wrong Surface Profile
Coatings need something to grip. Too smooth and there’s nothing for the coating to bond to. Too aggressive and you may telegraph the texture through a thin coating.
Every coating specifies a CSP (Concrete Surface Profile) — a standardized measure of how rough the prepped surface should be. That number isn’t a suggestion; it’s what the manufacturer tested the product against.
How to prevent it: read the data sheet, find the required CSP, and prep to it. Diamond grinding, shot blasting, and scarifying all produce different profiles, and within each method the tooling you choose changes the result. Match the method and the tooling to the spec.
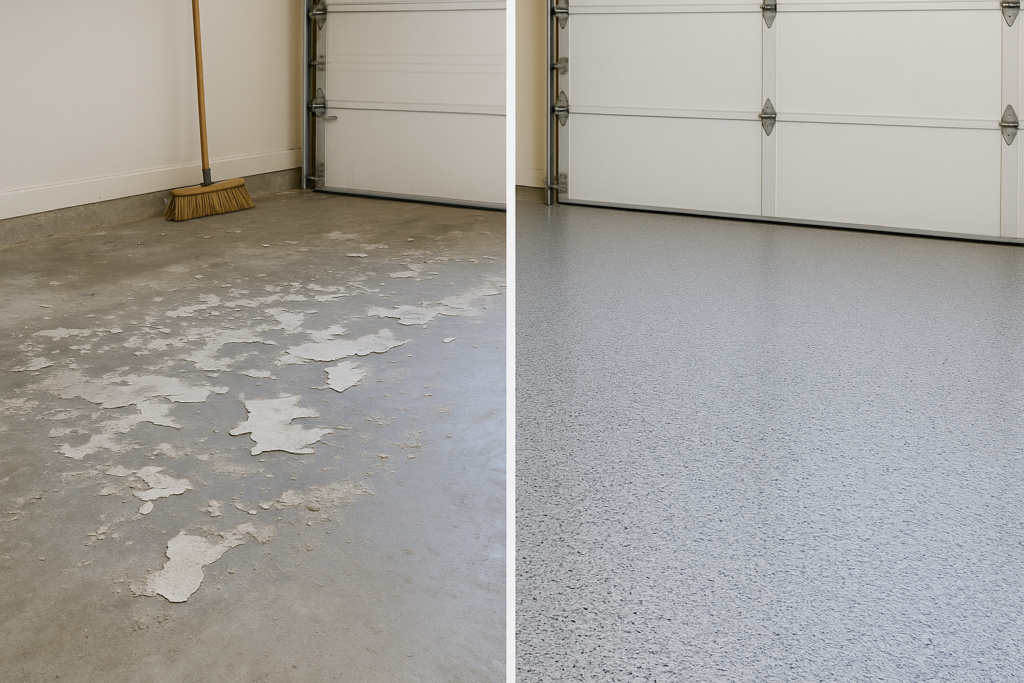
Left: a coating failing from poor prep. Right: the same kind of floor, prepped and coated properly.
3. Contamination Left Behind
Oil, grease, curing compounds, old sealers, adhesive residue, dust — anything left on the slab acts as a bond breaker. The coating sticks to the contaminant instead of the concrete, and the contaminant isn’t holding onto anything.
This one bites people because it’s often invisible. A floor that’s been in a shop for twenty years has oil driven deep into it, and a quick pass with a grinder doesn’t necessarily get it all.
How to prevent it: clean and degrease first, then prep mechanically. On oil-contaminated slabs, expect to clean, grind, and check whether oil weeps back to the surface before you commit. And vacuum thoroughly — grinding dust left on the floor is itself a bond breaker.
4. Rushing the Prep
The pattern behind the other three is usually the same: prep got compressed because the schedule got tight. Skip the moisture test, take one pass instead of two, sweep instead of vacuum — and you’ve built a failure into the floor before the first bucket is opened.
How to prevent it: treat prep as the job, not the setup for the job. It’s cheaper to spend an extra day preparing than to redo a floor and lose a customer.
The Common Thread
Every one of these comes down to the same principle: the coating can only be as good as what’s underneath it. The best product on the market applied over a wet, smooth, or dirty slab will fail — and the failure will look like a product problem when it was a preparation problem.
Test it. Profile it. Clean it. Then coat it.
We Can Help You Get It Right
At Substrate Technology, we carry the whole workflow — moisture meters to test the slab, grinders, shot blasters, and tooling to prep it properly, and coatings to finish it. More importantly, we’ll help you figure out what your specific floor needs before you commit to a system.
Call (815) 941-4800 x 1 or contact us, and you’ll talk to a real surface-prep expert, not a call center.